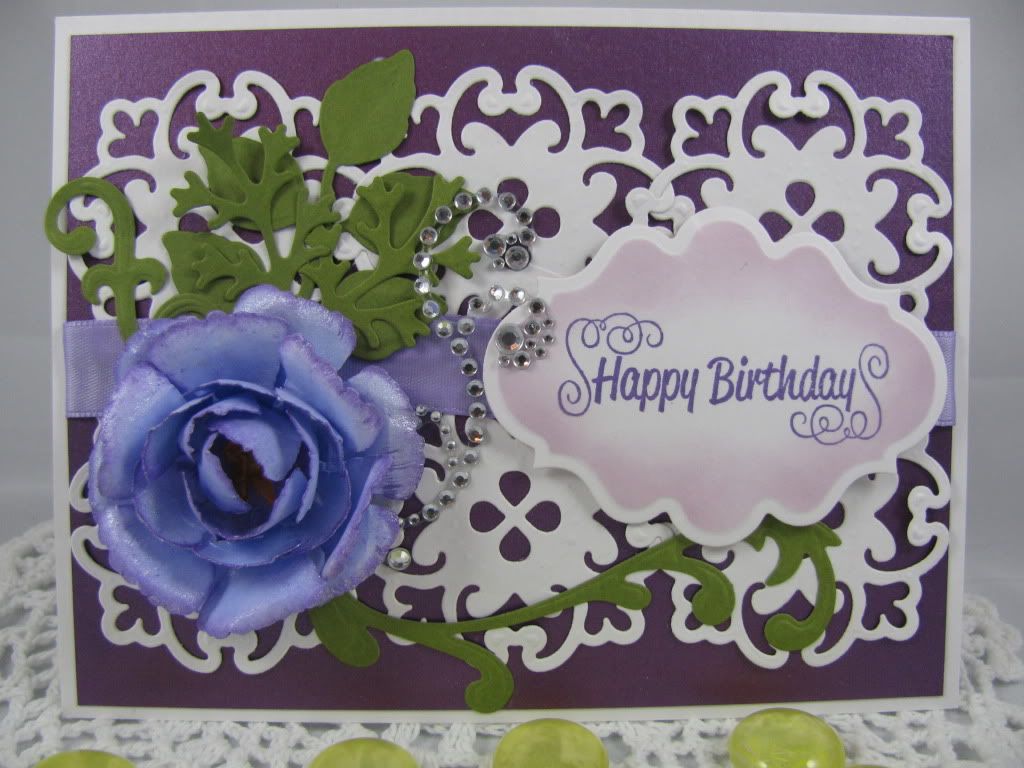
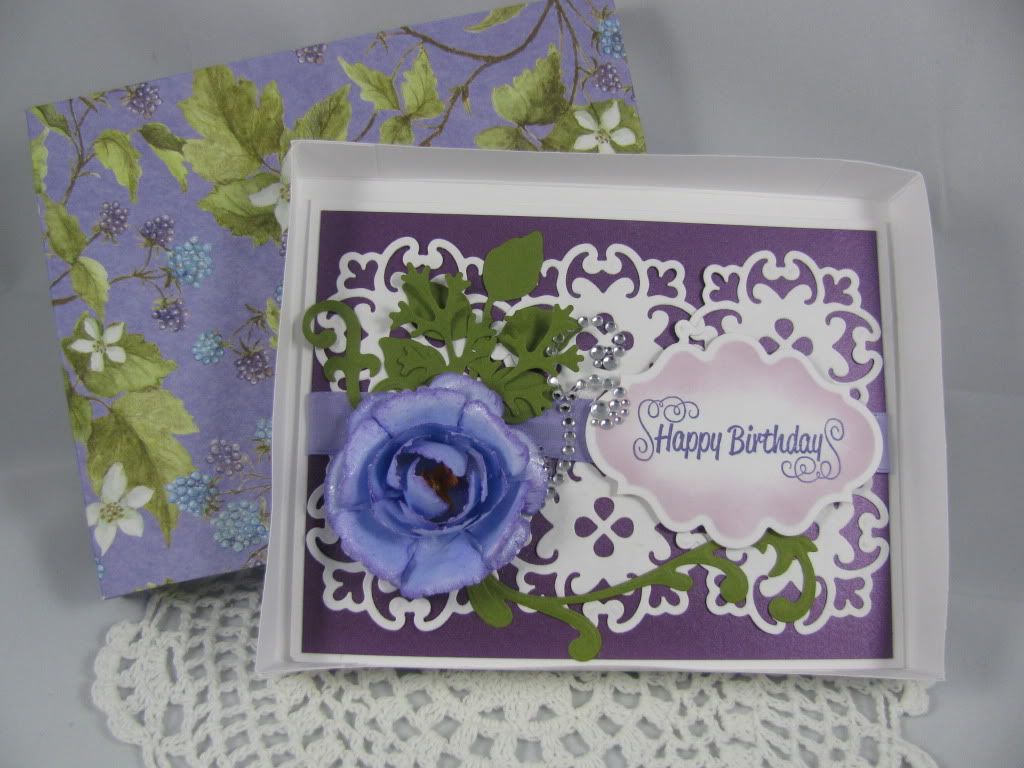
Lately I made another set of cards marking very happy celebrations. I made another anniversary card for a couple at my church who celebrated their 10th wedding anniversary by renewing their vows. Here's their card,
This card is very colorful and vibrant in person, unfortunately I didn't capture it that well. For the focal point rose on this card, I decided to take advantage of the pretty paper I used, first I just cut out a large rose with a circle
Nestibilities die then I went around the edge with a clear sparkle gel pen. I cut out the shape of another rose and added a
stickle type glitter glue to glitz it up a bit and few pop dots to layer it for some dimension.
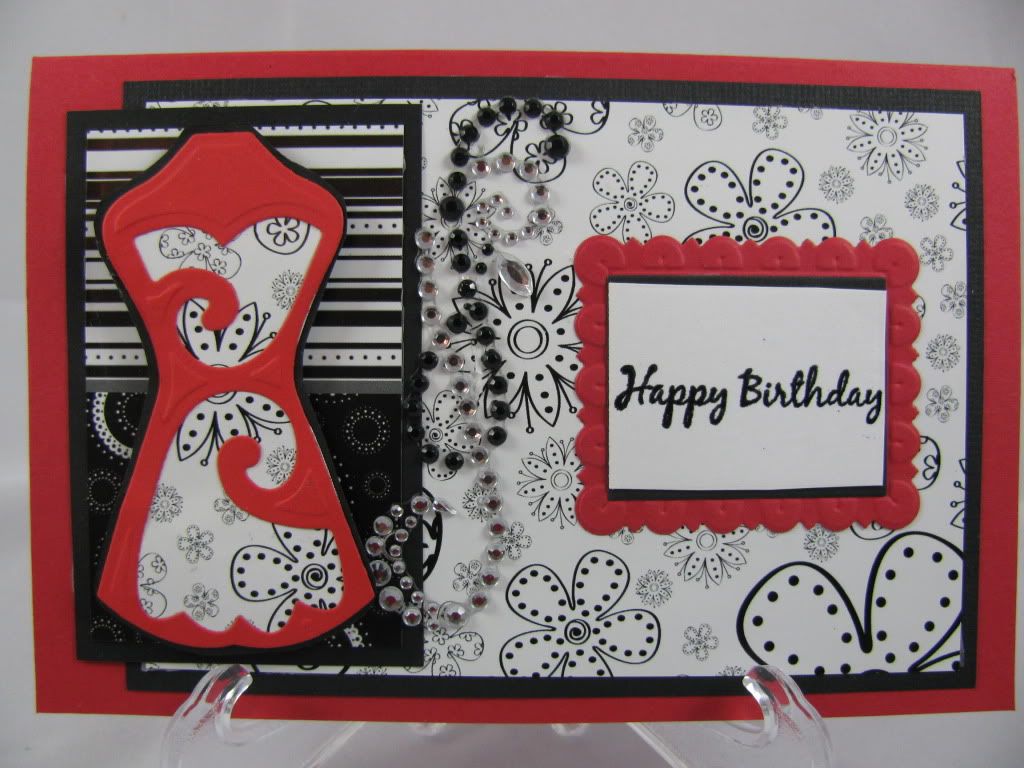
My boss celebrated her birthday this past weekend and I made this card for her. This is the first card I've actually given that I did my
Copic coloring on. The flower is from the Gina K Dogwood and Butterfly rubber stamp collection. I decided to cut them out and use pop dots and a little bling.
Can anyone say brownie points?! LOL, She loved it.
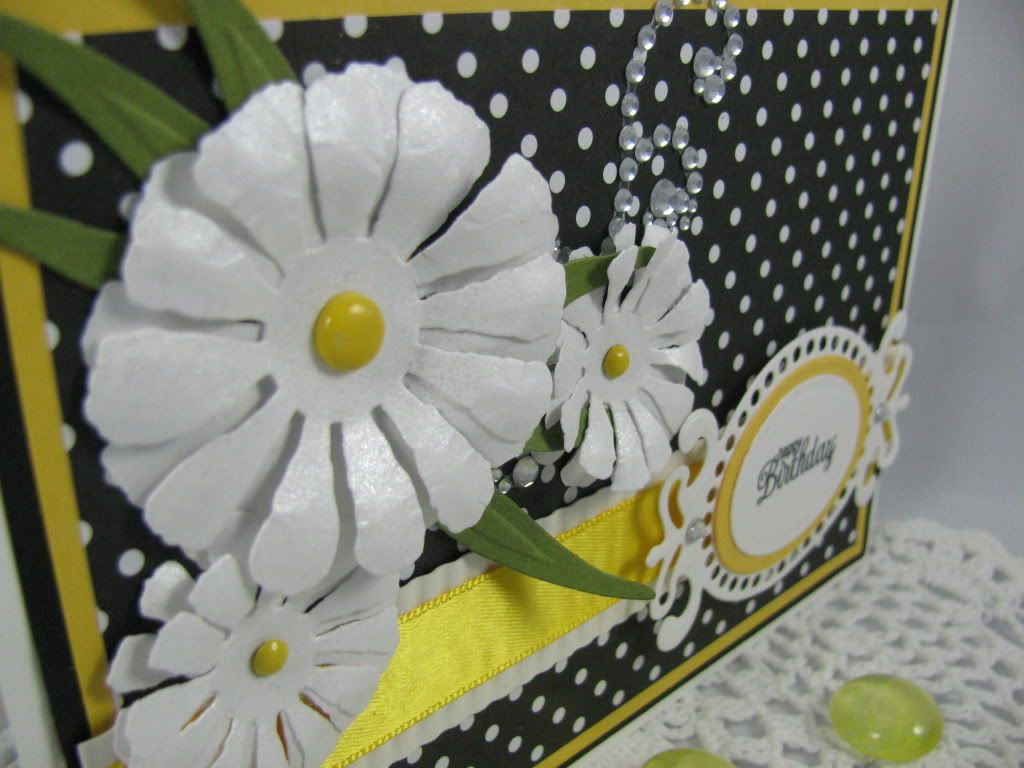
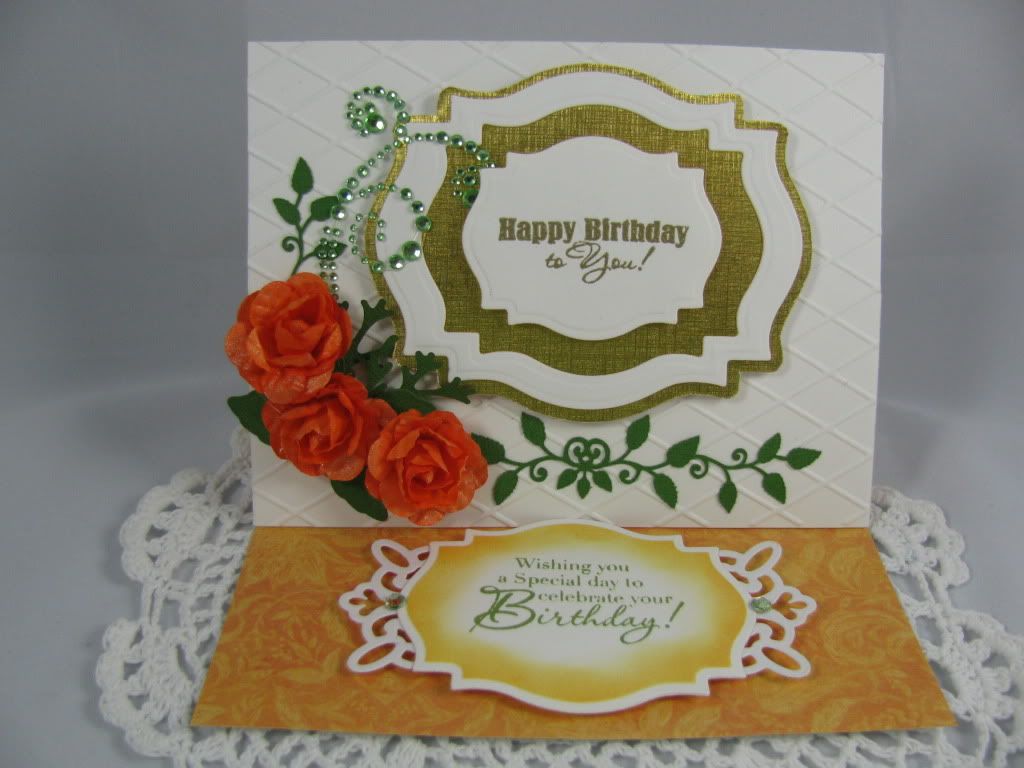
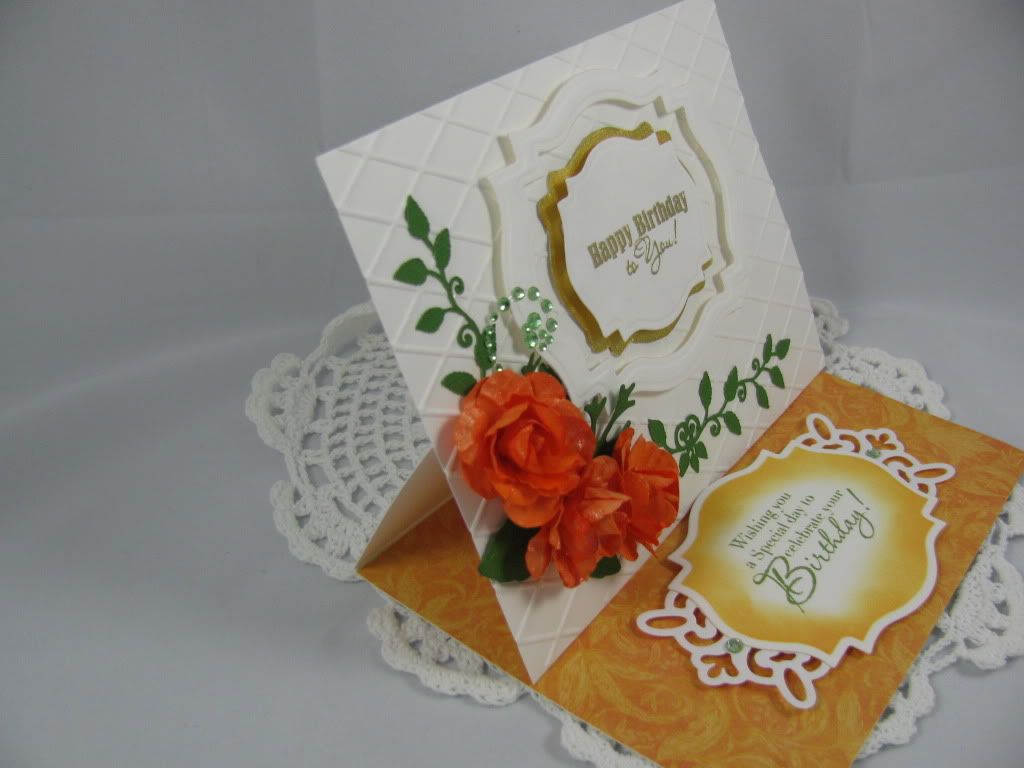
My sister-in-law's birthday is today but we celebrated it over the weekend and she loved her card too, here's her card.
I made this rose again that I've made on the cards in my previous post. I love making these roses. I used the
Spellbinder Rose Creations set by Donna Salazar, the leaves are also Spellbinders
Foliage set, I usually use pearlized chalk to color the rose and ink the edges with an ink pad, then spritz with Tim Holtz Pearl glimmer mist. For the background I use a Cuttlebug folder & I inked it using the Tim Holtz Red Brick distressed ink pad & Mememto yellow ink pad... I can't remember the exact color but the blend was great. Then I cut it in thirds, added a lacey paper doily & popped a little blingy circle for just to added a little interest.
That's it for now, more later.
Happy Crafting!


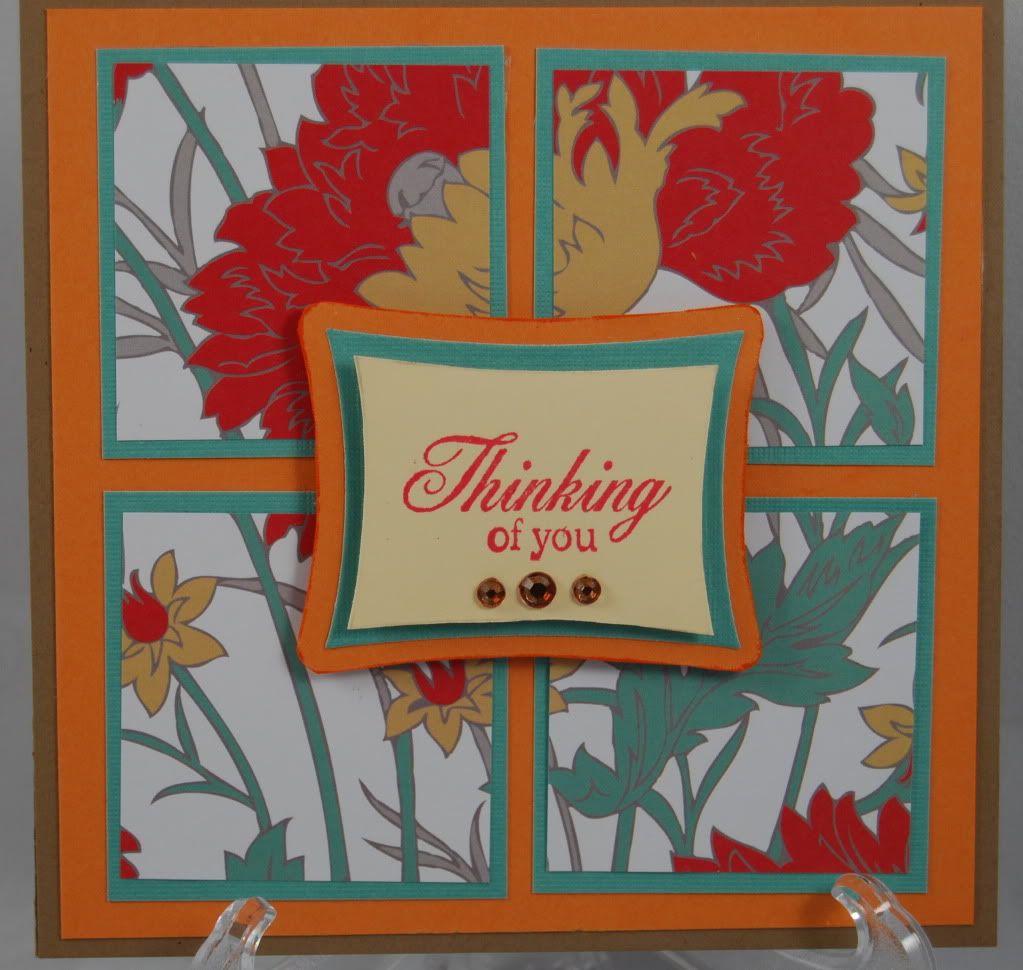
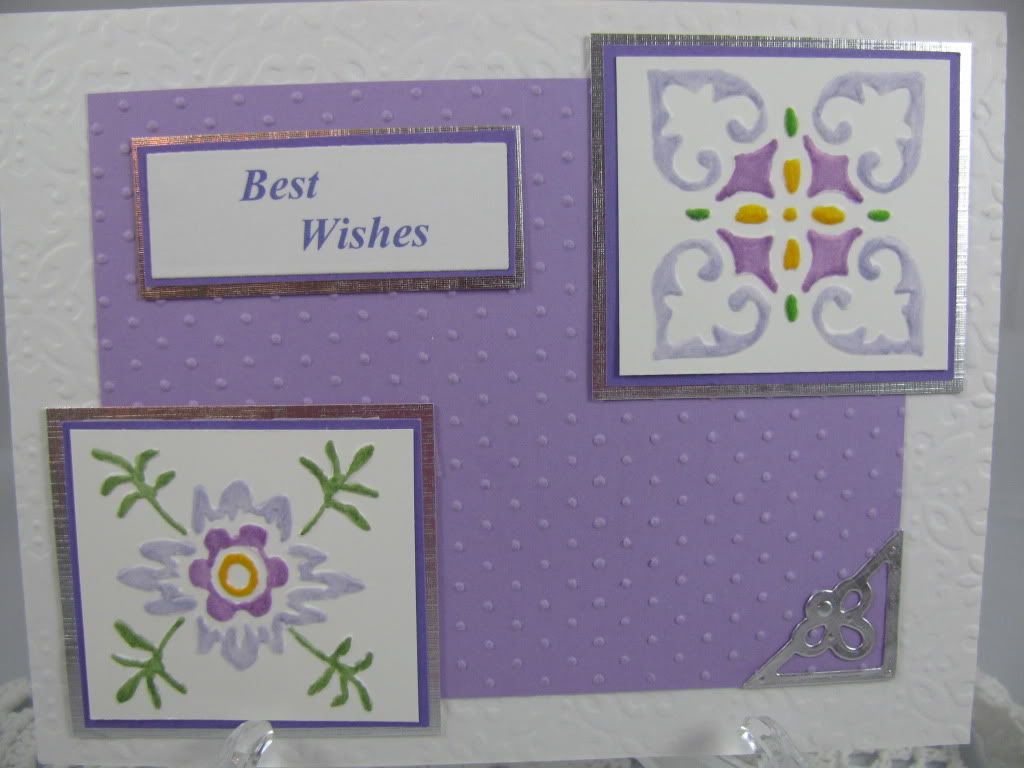
 I just love the papers in this stack and I have plenty left to make other projects.
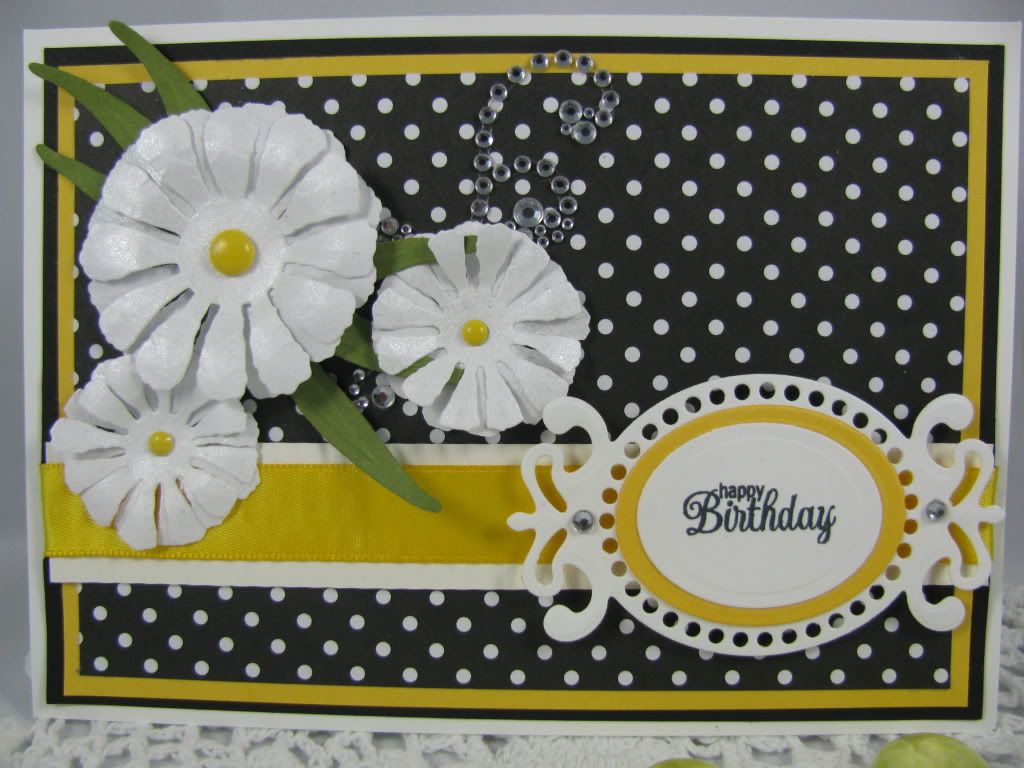


